
I love photographing Auckland at night. Not only does she look stunning but you meet the most interesting people hanging out with you… There is always a fellow photographer, chatting while waiting for the shutter to close. There’s the first daters, huddled under a blanket gazing out to the city. There’s the guys in the car so thick with smoke that you can’t make out their faces. Theres the late night kayaker paddling softly through the dark ocean. And further out there is the odd muffled voice from a distant boat and the soft and unrelenting roar of cars as they pass on the harbour bridge above.
We posted a photo (the cover photo for this story) over on our Facebook page a couple of weeks ago and got such a great response that we thought we would share a few more of our favourite shots and some tips on how to take amazing night time shots yourself.
Tip #1 – Always carry your camera
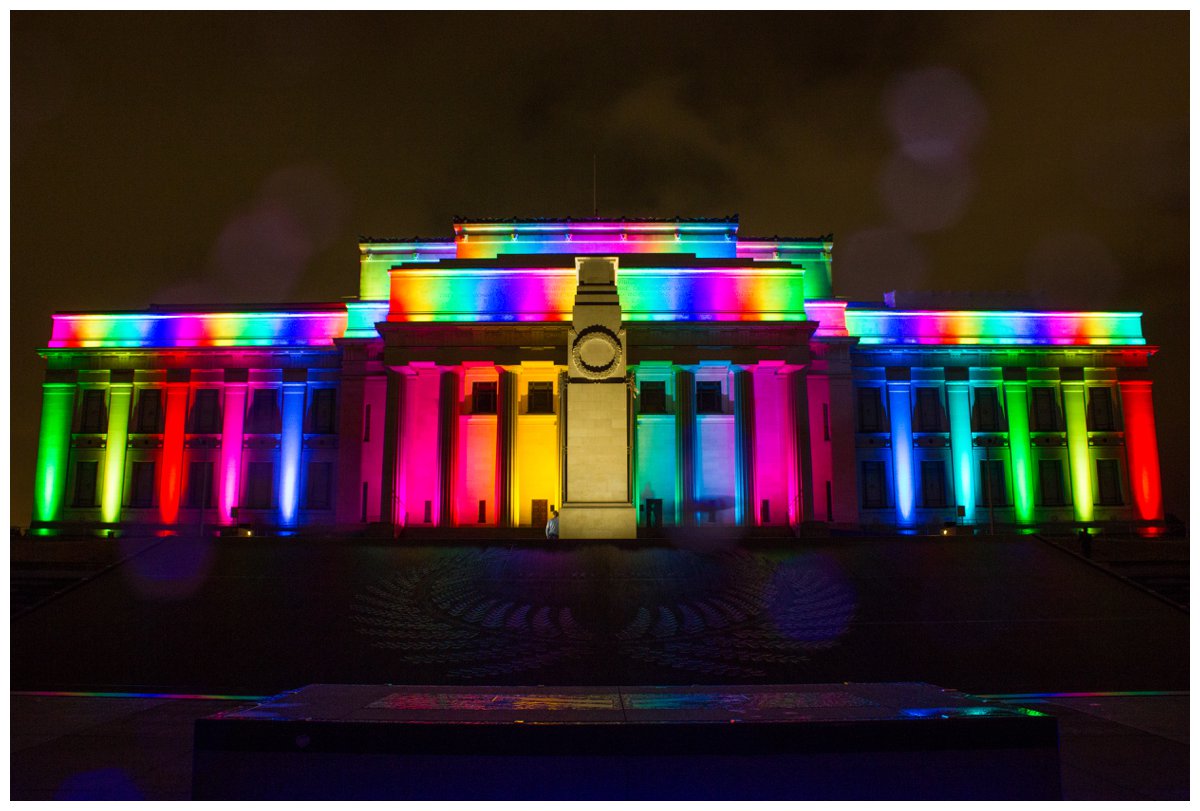
I literally stumbled upon the Museum one night when I was out with my eldest daughter and I was immensely glad that I had my camera on me at the time.
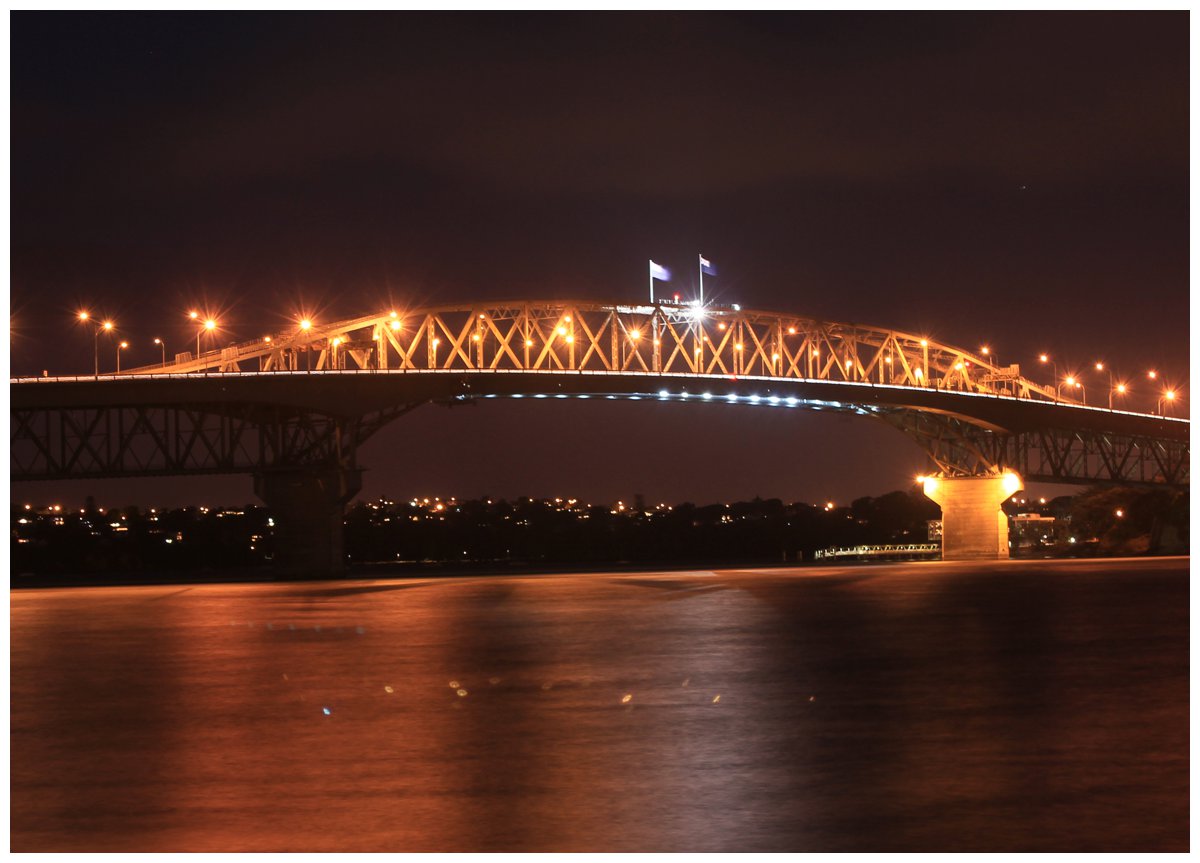
Likewise, you just never know when the sea will be flat and the reflections just perfect.
Tip #2 – Look for the full moon for light
You’ll still need a super long shutter speed (this was around 3 minutes) but the moon provides a great source of light for night time photos.

Tip #3 – Always use a tripod (and turn off auto stabiliser) and set the timer
To create great night time photos you need to have a slow shutter speed and even with the steadiest grip you are going to need a tripod of some description to get a wall worthy shot. I say of some sort because you can improvise here. In a pinch I have used tables, chilly bins and boxes. Anything that is stable and you can adjust the height as needed.

If you have a camera with auto stabilising features you need to turn these off for slow shutter speed.
If you can you also want to use a timer for the shutter release so you don’t get the shake from your hand. The 2 second one is fine.
Tip #4 – Use the manual settings
The best thing about night time photos is long exposure. It does amazing things to already amazing locations – it evens out the water into a sea of silk and makes the lights look magical.
As a rule of thumb you want to keep your ISO low so that you can capture everything in high quality (ideally 100).
You want your shutter speed as long as possible – that means 30 seconds for most camera’s unless you have a timer and can go even longer.
The last thing you need to look at is your aperture. For cityscapes you want to go to at least 8.0.
For a good starting point, my settings for the photo at the start of this article were ISO 100, 30″ shutter speed and my aperture was f10.
Chances are the first photo you take will be either totally over exposed or under so just play around and move your aperture up and down in small increments until you get the right combination.
If all of this sounds like gibberish try this link for a beginners guide on how to use the manual settings on your camera.
Tip #5 – Use manual focus
For most of us, our camera is going to struggle to find a focal point in low light. You can sit there and listen to it go back and forward as it tries to focus or you can slip it out of automatic focus and focus manually instead.